Lights for a Halloween Brainiac costume
This year for Halloween I decided to try and dress up as Brainiac from Supergirl.

As part of the costume I needed to create some lights that I could glue to my forehead. I decided I could probably accomplish that using some acrylic, a LED and coin cell battery to power it. The acrylic could be shaped into some discs which could hold the LED and battery. The final result I could then stick to my forehead using some spirit gum.
Shaping the acrylic
For my first attempt I created a hole in a piece of wood the size I needed and tried to form the acrylic into the hole using the heat gun. The result was pretty terrible.
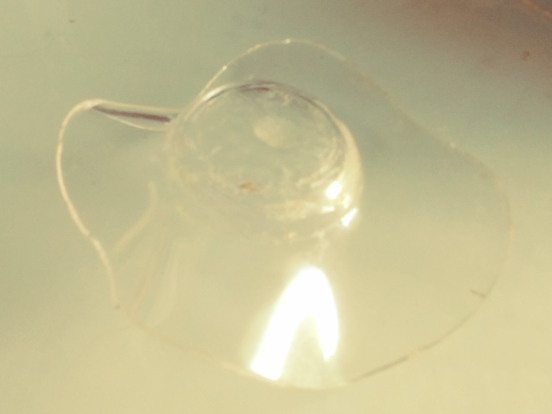
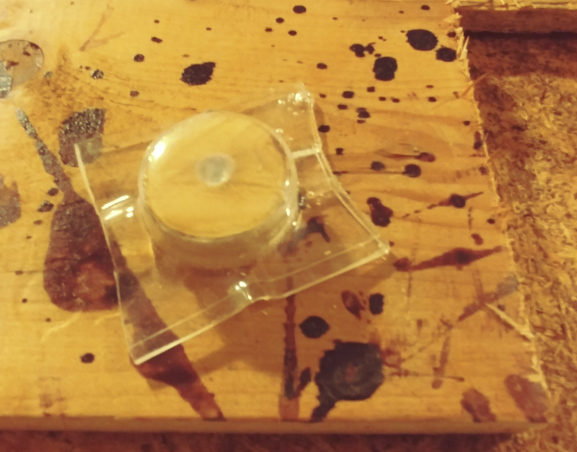
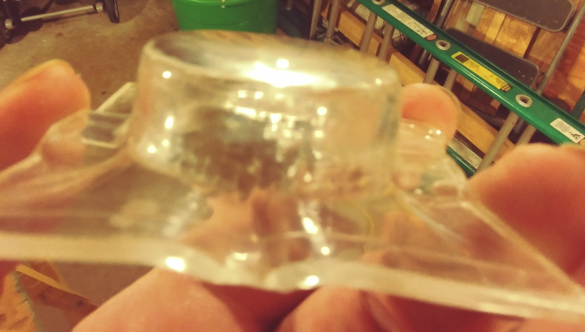
For my second attempt I decided to instead try and form the piece around a round cutout attached to a board. I used my hole saw to cut out a hole in a piece of scrap wood. I then attached the cutout bit to another board using a screw. I placed a square of acrylic over it and heated it for about 5 minutes. I then took the wood piece with the hole in it and pressed down on the sheet. This version turned out pretty well.
Making the lights
The discs are quite tight on space, so I needed a very compat solution. Some surface-mount LEDs, thin PCB and small battery probably would have been ideal, but I wanted to work with what I had and not have to buy stuff. This meant using a larger 5mm LED, CR2025 battery and a 330ohm resistor.
Unfortunately I did not have the correct color LED available on had to match the show. Instead, I decided to use my color changing LEDs as I thought that would spice it up a bit and could make it look like there was something happening.
Given the cramped space I decided I'd need to hot-glue the LED to the battery and somehow connect it. Since you can't solder to the surface of a CR2025 battery I needed some kind of mechanical connection. I first tried just pushing the lead down and holding it with hot-glue, but that did not work reliably.
After pondering the problem for a bit I realized I had some uninsulated wire and threaded rod and using the two I could make something like a spring connection. I twisted some wire around the rod then removed the rod to create essentially a large spring. I then cut that spring in half and soldered one half to the LED and the other half to the resistor which was then soldered to the LED.
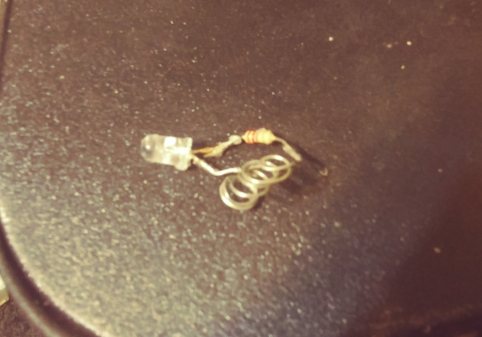
With this setup I was able to glue the LED to the battery on one side and run the other contact around the edge (with a little hot-glue to insulate) to the other side of the battery. I then could glue the whole assembly into the containers.

To hold the back spring against the battery and provide a back use for gluing to my head I cut out some acrylic backs that pressed in and hot-glued in place.
The final result turned out pretty good I think. It'd be nice to make them even thinner, but I couldn't manage that with what I had. All the glue also made it very difficult to change the battery. Luckily the power draw was so small that a single CR2025 could run them for close to 36 hours straight so there wasn't much need for a battery change.